
To use a compressed facial cleansing sponge, soak it until the whole disc is soft, gently squeeze out excess water and use light movements on the face, avoiding the eyes. Rinse your face and the sponge afterward, then let the sponge dry completely before storage. The main checks are softness before contact, light pressure during cleansing and thorough cleaning and drying afterward.
This guide shows how to use the EELHOE Glow Up Pads sold by GinGrowth: ten compressed wood-pulp/cotton sponges that expand in water. Their textured surface helps lift everyday surface buildup with light wiping. You will learn how to recognize full softening, keep the disc clean and decide when it needs replacing.
First identify which kind of facial pad you have
If your product is a pre-soaked single-use jar instead, follow our makeup remover pad instructions; those pads have their own application-and-rinse method and are not reusable sponges.
If you are considering an attached brush instead, our facial cleansing brush guide explains the manual foaming format and when fingertip cleansing is the simpler choice.
A compressed facial cleansing sponge is stored dry and expands when soaked. It is different from a pre-moistened cleansing pad taken from a jar, a disposable cotton round or a silicone brush. Products may share words such as pad, glow or cleansing while requiring different routines. Start with the material and instructions rather than the name alone.
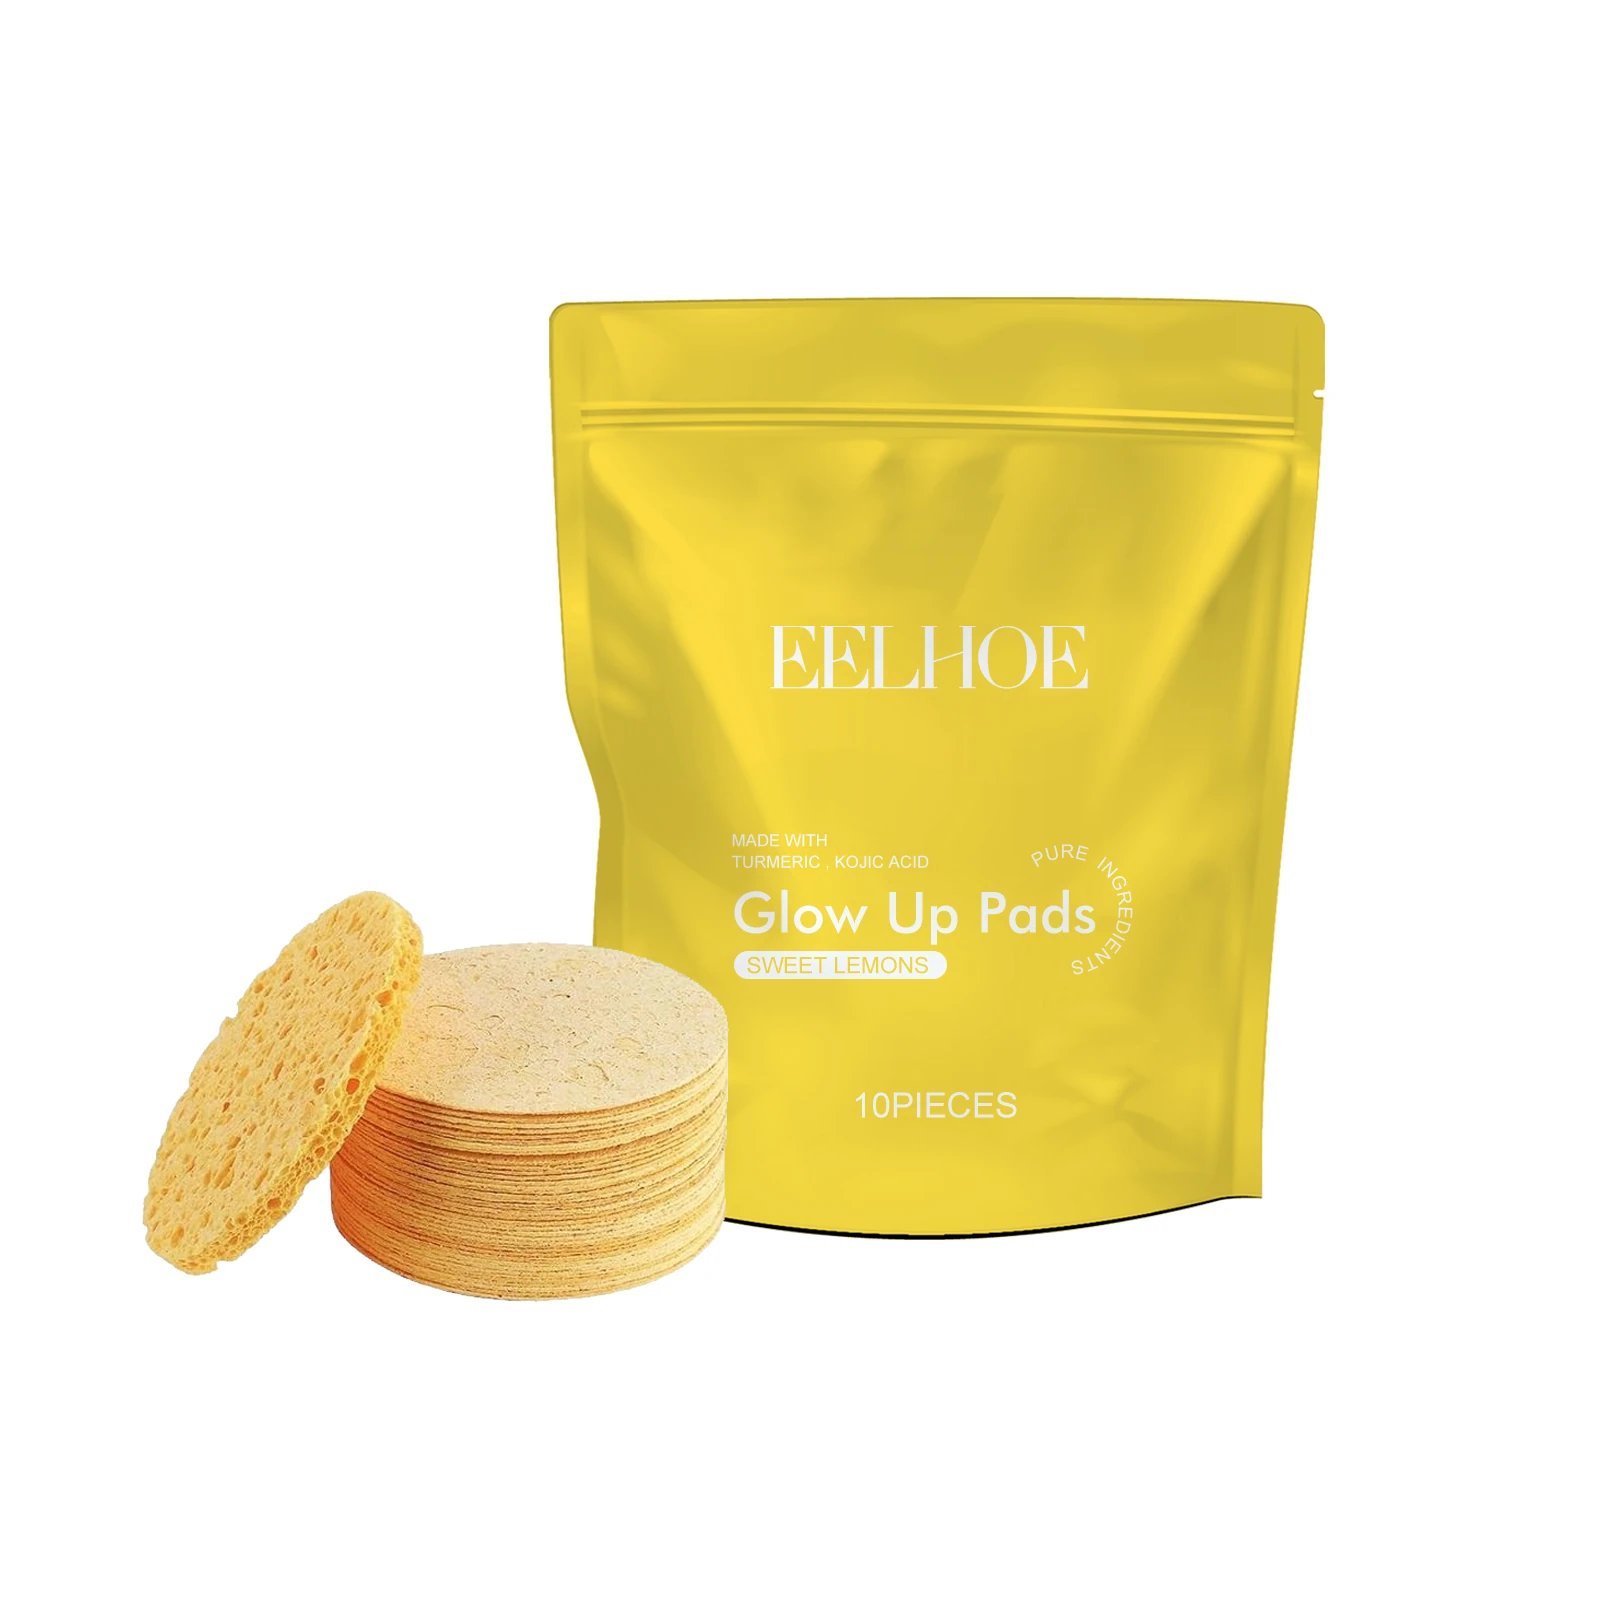
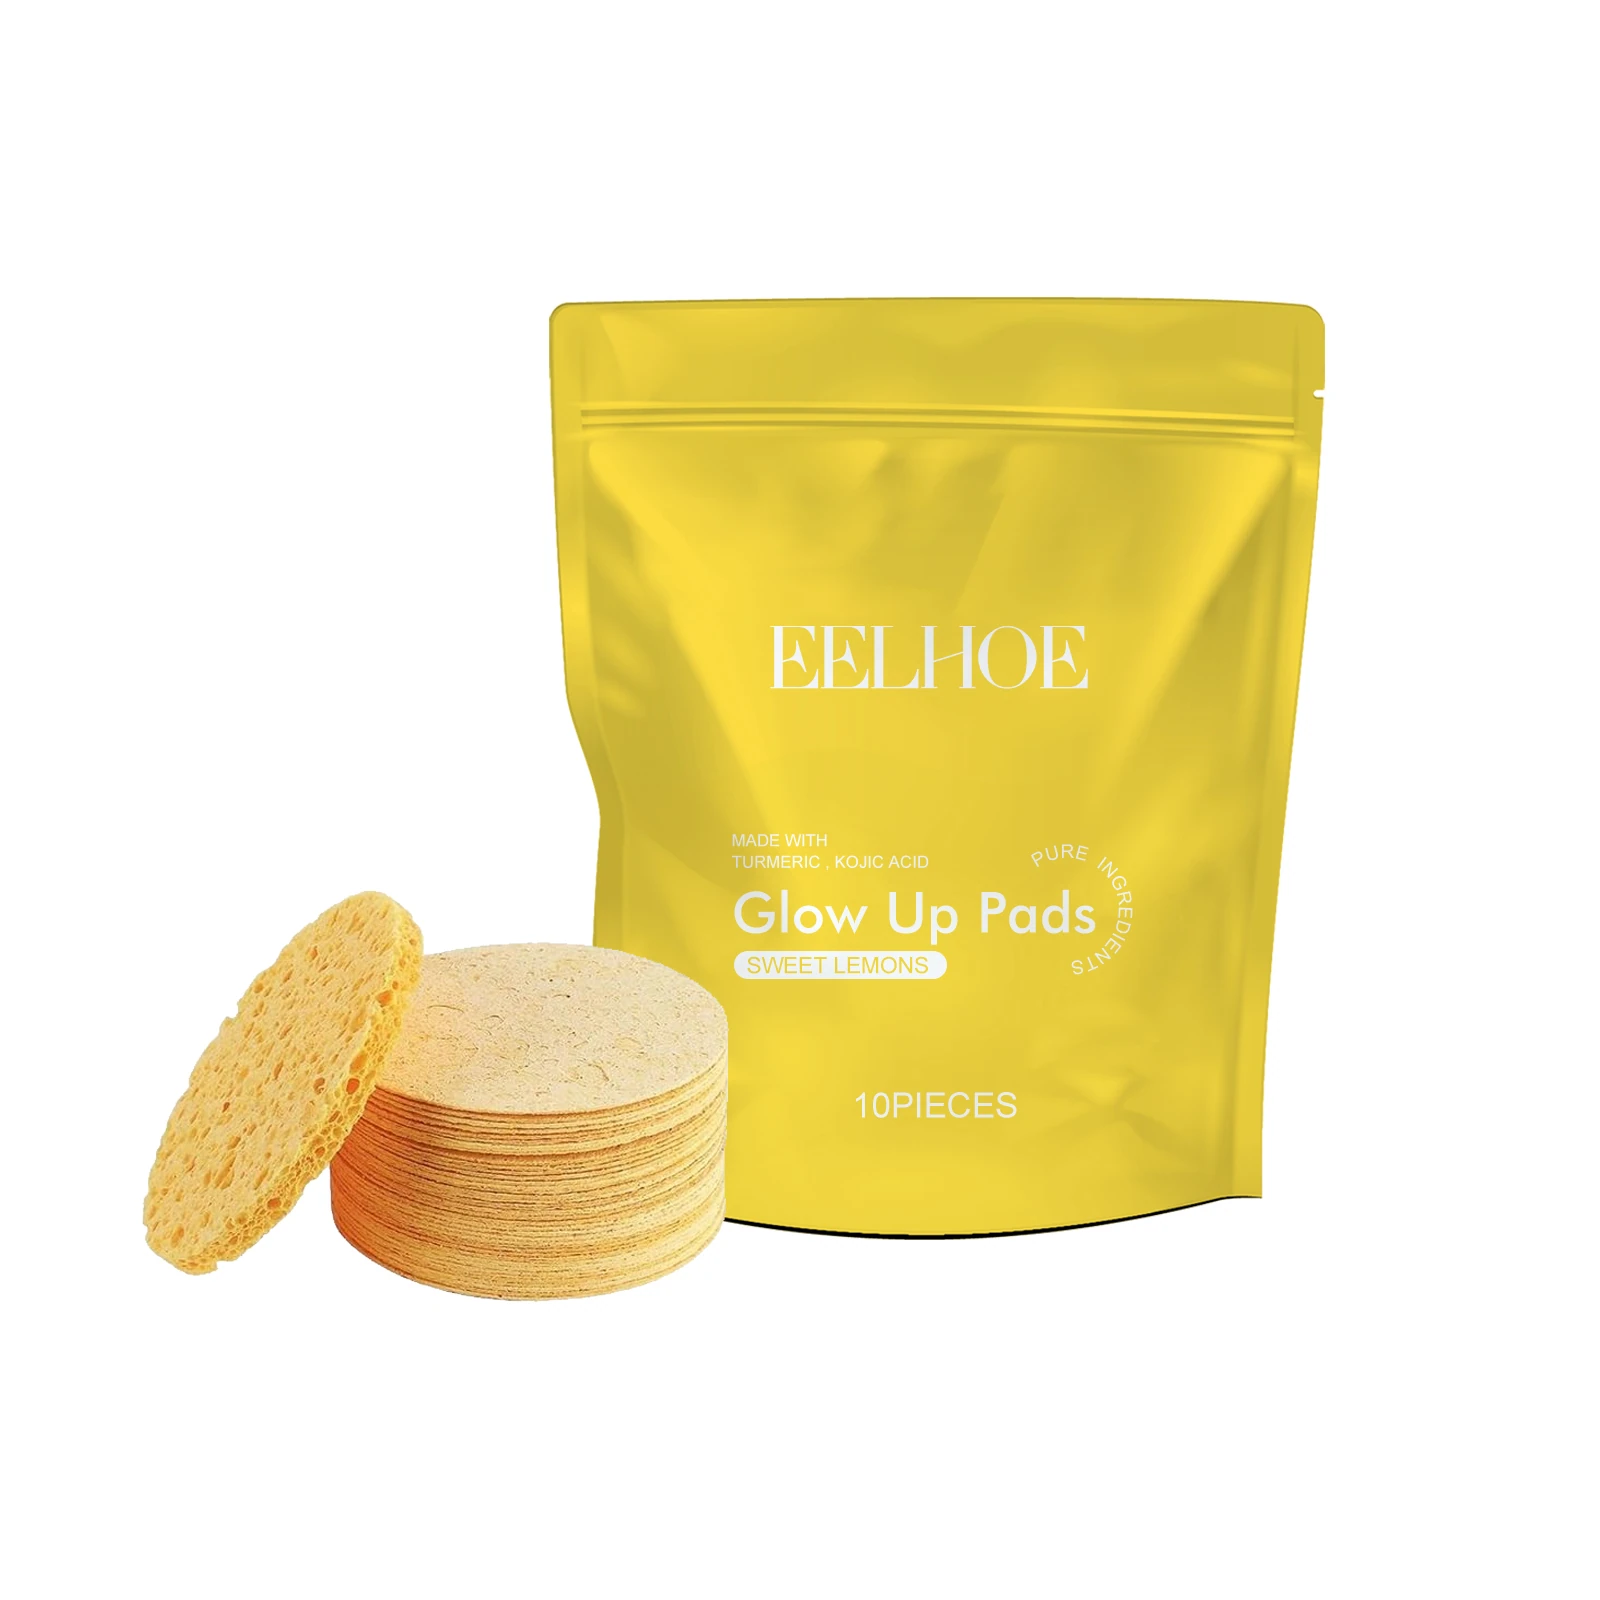
The example here is the EELHOE Glow Up Pads product sold by GinGrowth: ten compressed sponges in a yellow pouch. Its current listing identifies a substrate of 70% wood-pulp fiber and 30% cotton, with a diameter of approximately 6cm. Turmeric and kojic acid are named separately on the pouch. Those percentages describe the sponge material, not active-ingredient concentrations.
This distinction matters when comparing products online. The ten-piece pack is not a jar of 55 ready-to-use cleansing pads and is not a konjac sponge. Its instructions start with soaking in water. GinGrowth sells this example, and the methods below are based on its current instructions plus general guidance on gentle cleansing. They should not be transferred automatically to another kind of pad.
On a small screen, swipe or scroll the table sideways to compare all columns.
| Item | Starting condition | What to check |
|---|---|---|
| Compressed facial sponge | Dry disc that expands in water | Material, full softening, cleaning and drying instructions |
| Pre-moistened cleansing pad | Wet pad supplied in its own container | Formula, contact time and rinse or leave-on directions |
| Cotton round | Dry wiping surface | Separate cleanser requirements and whether it is single-use |
| The Glow Up Pads example | Ten compressed wood-pulp/cotton sponges | Soak, squeeze lightly, use gently, rinse and air-dry |
Prepare the sponge before it touches your face
Start with clean hands and a clean place to set the sponge after use. Keep the unopened or unused discs dry and separate from the disc you are currently using. A small amount of planning here makes it easier to finish the routine without dropping a damp sponge back into the original pouch.
Put one disc in water and let it expand. Check the center as well as the edges: the whole sponge should feel flexible and soft. A disc that looks larger may still have a firm area inside. Do not use a hard, partly expanded edge to scrub a patch that seems rough. Add more soaking time until the sponge is ready, following any directions on the current pack.
The supplied instructions do not give a fixed number of seconds for softening. Use the physical condition of the disc as the practical check instead of treating an invented timer as a rule. Once it is soft throughout, squeeze lightly to remove excess water. Keep enough moisture for the sponge to move gently; a stiff or drying sponge is not the intended starting point.
Use light passes, then rinse
Use short, light movements over the cheeks, nose and chin, keeping away from the eyes. The American Academy of Dermatology recommends fingertips as the gentler default and notes that tools can irritate skin. A sponge is optional: if your skin tolerates it and you prefer the textured surface, let the softened material do the work without pressing harder.
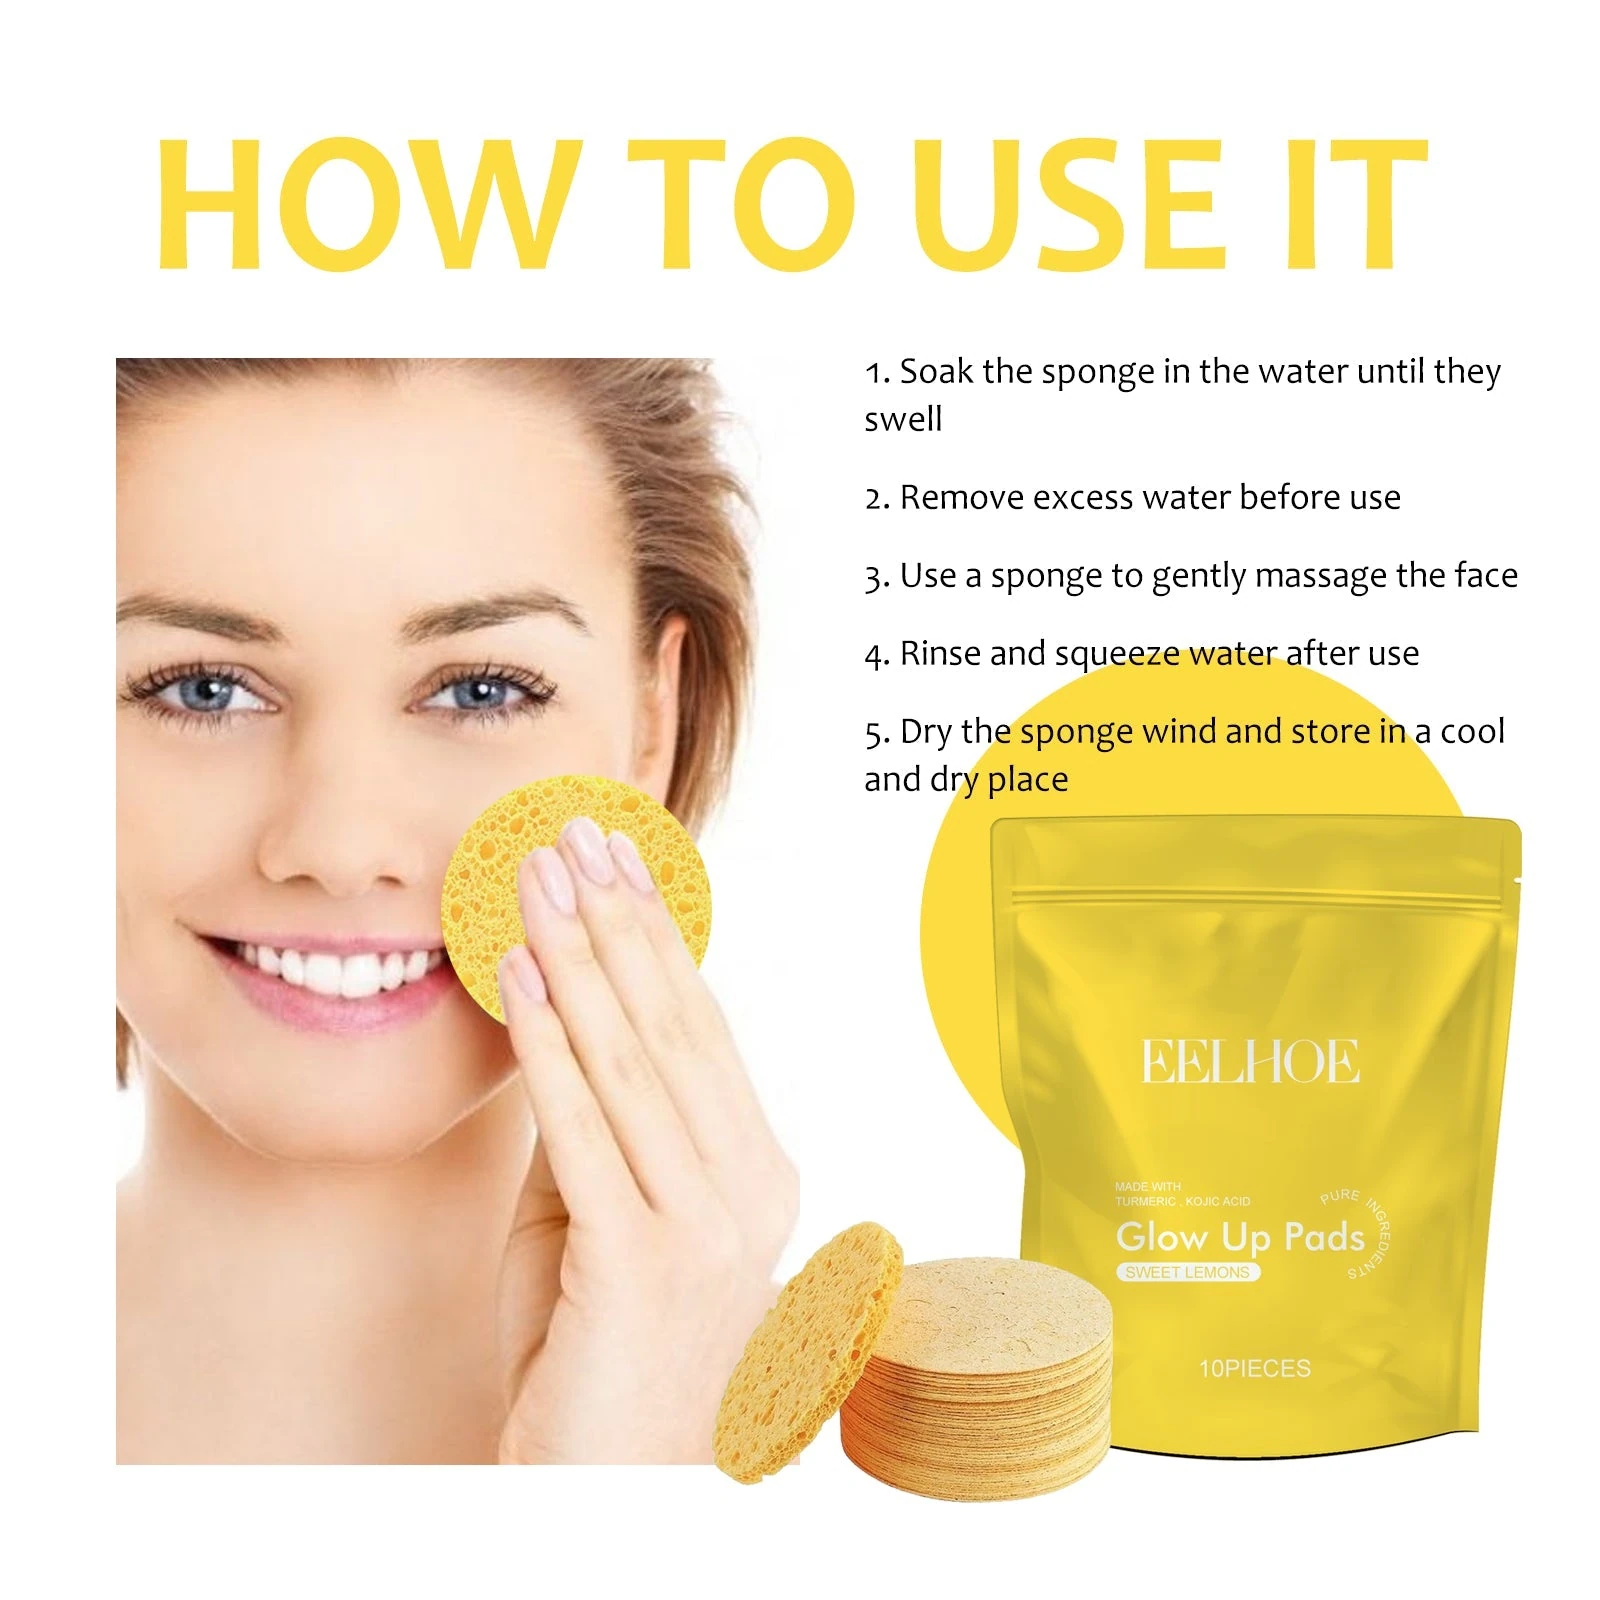
- Soak one compressed disc until the entire sponge expands and feels soft.
- Gently squeeze out excess water without making the sponge stiff or dry.
- Use light movements over the face, avoiding the eyes and repeated rubbing of the same area.
- Rinse your face and the sponge thoroughly.
- Squeeze the sponge gently, allow it to air-dry completely and store it separately from unused dry discs.
The product's texture provides a physical cleansing and light exfoliating action. More pressure is not evidence of more benefit. Stop after light cleansing rather than chasing a squeaky or flushed appearance. If a sponge causes stinging or irritation, stop using it and return to a gentler routine; persistent symptoms deserve professional advice.
There is no need to combine several rough surfaces in the same session. A sponge, a granular scrub and repeated towel rubbing can turn a simple wash into a lot of mechanical friction. Think about the total routine rather than evaluating each item separately. The useful result is clean, comfortable skin, not a count of exfoliating steps completed.
Do you need to add cleanser to the sponge?
The current Glow Up Pads directions show soaking the sponge in water and gently massaging the face; they do not require adding a separate cleanser to the disc. That is a specific instruction for this product, not a general statement that every facial sponge cleans effectively with water alone. Other sponges may be designed to work with a separate cleanser, so their instructions should be checked independently.
Makeup and sunscreen introduce another question: which product is intended to remove what is on your face? Do not assume that turmeric or kojic acid on a pouch proves that a water-softened sponge removes every type of makeup, sunscreen or eye product. Use an appropriate cleanser for that job, then decide whether an additional tool is necessary at all.
For a fingertip-based makeup-removal option, compare cleansing balm and cleansing oil. Those rinse-off formulas have their own application instructions and do not require a sponge. If you are mainly trying to choose a cleanser for oily skin, the existing cleansing-oil guide for oily skin addresses that separate decision.
How to clean facial cleansing sponges after use
Rinse the sponge thoroughly so visible residue can leave the material. Gently squeeze it under clean running water, repeat the rinse as needed and check whether it looks clean. Do not put it away while makeup or other residue is still visibly trapped inside. The current product instructions support rinsing and gentle squeezing; they do not specify a disinfectant, bleach mixture or sterilizing procedure.
Use the supplied rinse-and-dry method. Do not boil, microwave or treat the sponge with harsh chemicals without manufacturer directions for that method. Replace a disc that no longer rinses clean.
Do not use the packaging's ten-piece count as a guaranteed number of uses or a replacement calendar. The current listing permits reuse while the sponge remains clean and intact, but it does not establish a validated lifetime in days or washing cycles. Inspect the actual disc before each use rather than keeping it simply because a general online schedule says it should last longer.
How to dry a facial cleansing sponge before storage
After rinsing, gently squeeze out the water and place the sponge in a clean, ventilated location where it can air-dry completely. Avoid sealing it inside the pouch while damp. The storage step should keep the wet, used disc separate from the dry, unused supply.
A drying location needs to work in your own bathroom. If an enclosed container keeps the sponge damp between uses, choose a more open location. Check that it has actually dried before putting it away rather than assuming that an overnight wait is always enough. Bathroom humidity, ventilation and the amount of water left in the disc can affect drying.
On a small screen, swipe or scroll the table sideways to compare all columns.
| Stage | Ready condition | Action if it is not ready |
|---|---|---|
| Before touching skin | Soft and flexible throughout | Continue soaking; do not scrub with a hard edge |
| After cleansing | Visible residue rinsed away | Rinse again; replace if it no longer cleans properly |
| Before enclosed storage | Completely air-dried | Leave in a clean, ventilated location to finish drying |
| Before reuse | Clean, intact and without an unusual odor | Replace a damaged, smelly or persistently dirty disc |
For travel, consider whether you will have time and space to dry a used sponge before packing it. A dry unused disc is compact, but the care requirements change once you wet it. If your plans do not allow proper rinsing and drying, simple fingertip cleansing may be more practical for that trip. Convenience should include the aftercare, not only how little room the dry product takes up.
When to replace it or skip the tool
Replace the sponge if it develops an odor, is damaged or no longer rinses clean. Those are the condition-based checks in the current listing. A visible tear or persistent residue is enough reason to stop relying on that disc; you do not need to wait until every sponge in the pack looks the same.
Skin comfort is a separate check from sponge condition. A clean, intact disc may still be unsuitable for a person whose skin becomes irritated by physical cleansing tools. Do not use a sponge to scrub irritated or injured areas. For persistent discomfort, discuss the routine with a dermatologist rather than repeatedly trying different pressure or longer cleansing sessions.
If you use prescribed skin treatments, follow your clinician's instructions about cleansing and exfoliation. This product guide does not establish compatibility with every treatment or skin condition. Choosing not to use an optional tool is a reasonable routine decision, especially when gentle cleansing with the hands already meets your needs.
Is this the facial cleansing sponge you need?
The ten-piece Glow Up Pads pack fits someone who wants a compact dry format, a sponge that softens with water and a light textured cleansing step. The approximately 6cm disc can be held between the fingers for controlled passes. Check that your routine also has a clean, ventilated place for drying a used disc.
On the product page, compare the yellow pouch and compressed discs with the item you intend to buy, then review the current material, pack count and care directions. A wet toner-pad jar or a separate makeup remover answers a different need.
Frequently asked questions
Can I use a compressed sponge straight from the pouch?
No. The sponge in this guide must be soaked until it expands and becomes soft throughout. A dry compressed disc is for storage, not for rubbing over facial skin.
Is this a reusable facial cleansing sponge?
The current listing allows reuse after rinsing, squeezing and complete air-drying, while the sponge remains clean and intact. It does not provide a universal replacement interval. Replace a disc that smells, is damaged or no longer rinses clean.
Can I use it every time I wash my face?
The product instructions do not establish a universal frequency suitable for every skin type. The AAD's general face-washing guidance is not an endorsement of using a sponge each time. Keep the tool optional and let skin tolerance and any clinician guidance determine whether it belongs in your routine.
Should I use it around my eyes?
The supplied routine says to avoid the eyes. Use an eye-makeup remover specifically labeled for that area when needed, rather than trying to lift mascara with sponge pressure.
Sources and product information
The American Academy of Dermatology's Face washing 101 supplies the general guidance on gentle fingertip cleansing and the potential irritation from tools. Sponge size, material, packaging and care steps were checked against the current GinGrowth listing on October 14, 2026. The AAD does not endorse this sponge. Review the current product details and the instructions on your own pack before use.